Terasic FPGA Cloud Connectivity Kit: Part Two
Introduction
Part one of this tutorial provided a list of materials and required software, demonstrating connecting the Analog Devices EVAL-CN0398-ARDZ Evaluation Board to the processor, leveraging the IIO driver within Linux to communicate with the ADC to read the samples such as soil mosture and pH Balance.
In this final element of the tutorial, we are going to connect DE10Nano to the Microsoft Azure Cloud and communicate measurements to the cloud.
To do this, we are going to need to do several things both on the DE10 Nano and within the Microsoft Azure environment.

Configuring the DE10-Nano
The first step in the development process is to power on the De10Nano cloud solution and connect to the board using the USB UART. The settings for the serial are 115200:N:1. Once connected, the user name to log into is “root” and the password is “de10nano” (Figure 1).
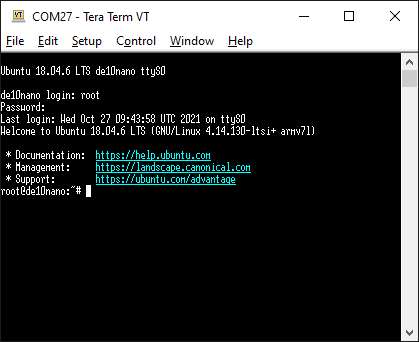
Figure 1: Logging into the DE10 Nano. (Source: Author)
The next step is to update the package catalogue and expand the rootfs running the commands below
apt update
    ./expand_rootfs.sh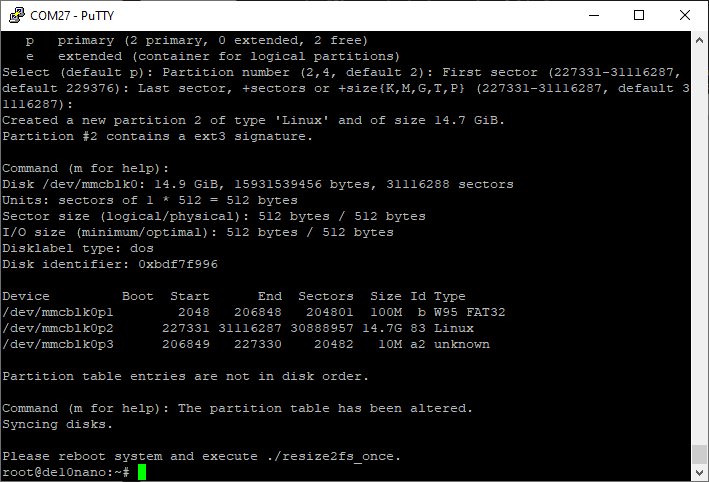
Figure 2: Resizing the RootFS and rebooting on command. (Source: Author)
Reboot the de10 nano when prompted (Figure 2) using the command
reboot nowOnce the system has rebooted, run the script. This will resize the file system (Figure 3).
./resize2fs_once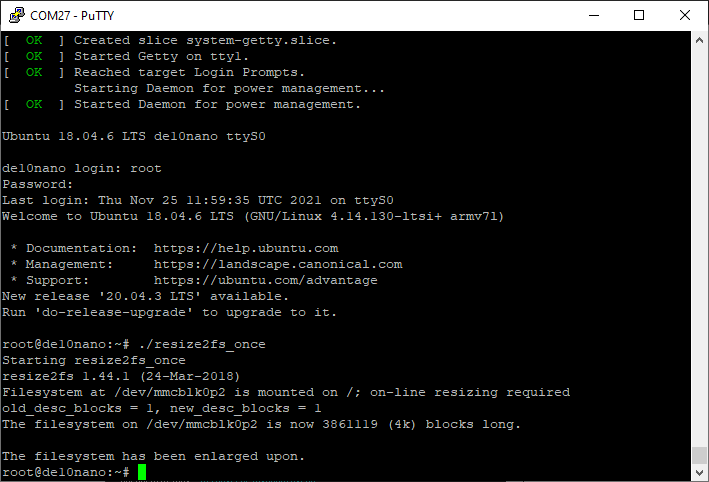
Figure 3: Resized File System. (Source: Author)
The next step is to disable default overlay loading during boot; to do this, we will use the nano editor on the DE10nano over the serial link. The file to be edited is the fpgaoverlay.sh (Figure 4), which is located under the /overlay/ directory.
nano /overlay/fpgapverlay.sh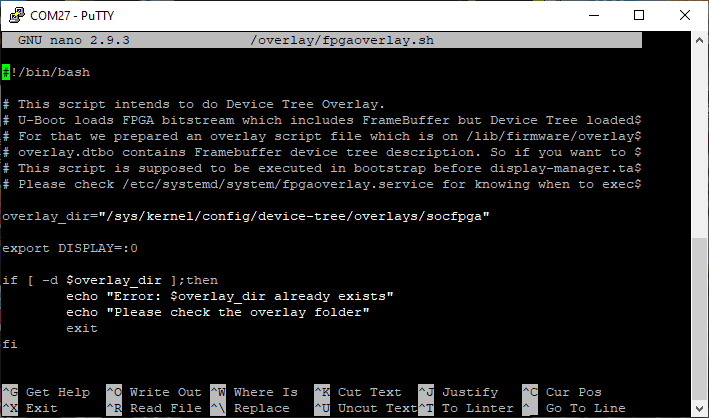
Figure 4: Resized File System. (Source: Author)
Scroll down and comment out the lines by inserting a # in front of the command (Figure 5).
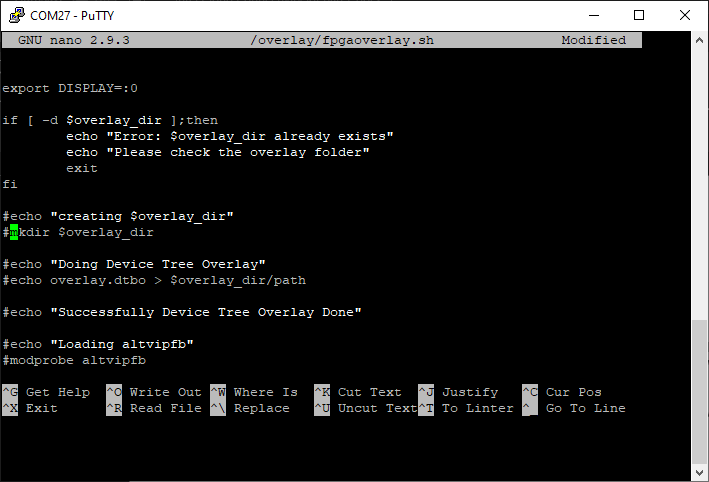
Figure 5: Commenting out the Overlay. (Source: Author)
Once these changes have been saved to the file, again reboot the de10nano with the command reboot now.
The next stage is to clone the reference application onto the de10nano; make sure we are in the home directory and run the following commands (Figure 6):
cd ~
    apt update
    git clone https://github.com/intel-iot-devkit/terasic-de10-nano-kit.git
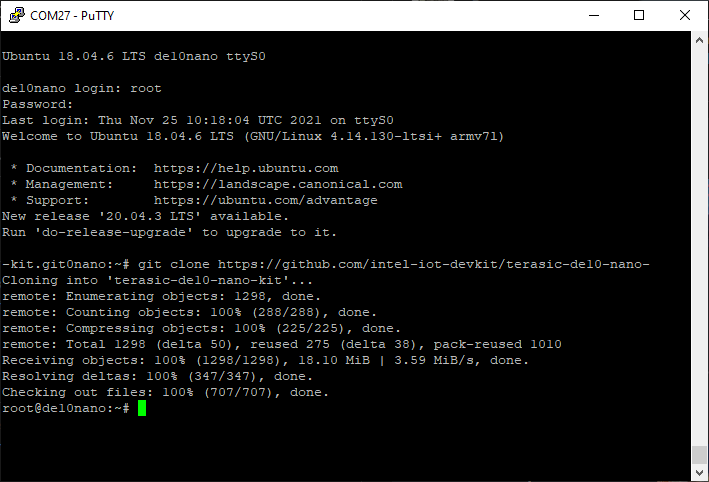
Figure 6: Installing the Repo. (Source: Author)
This will clone the application into a directory called terasic-de10-nano-kit (Figure 7).
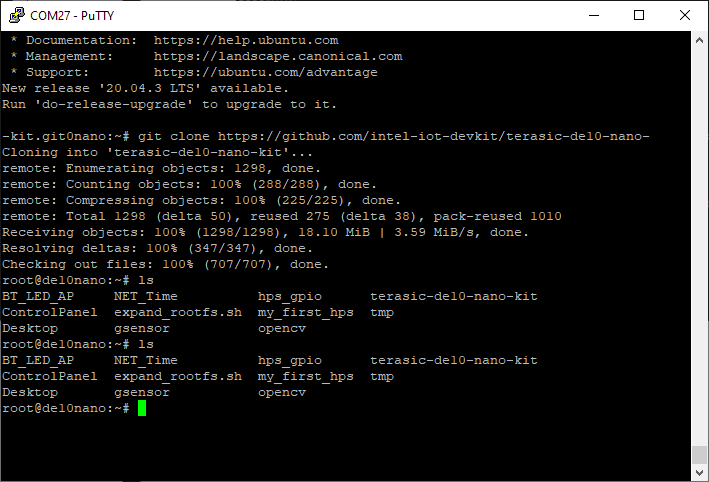
Figure 7: Checking the clone. (Source: Author)
The final stage is to install the necessary requirements to work with the Cloud solution. Run the command (Figure 8):
cd ~/terasic-de10-nano-kit/azure-de10nano-document/sensor-aggregation-reference-design-for-azure/sw/software-code/modules/RfsModule && \
python3.7 -m pip install -r ./requirements.txt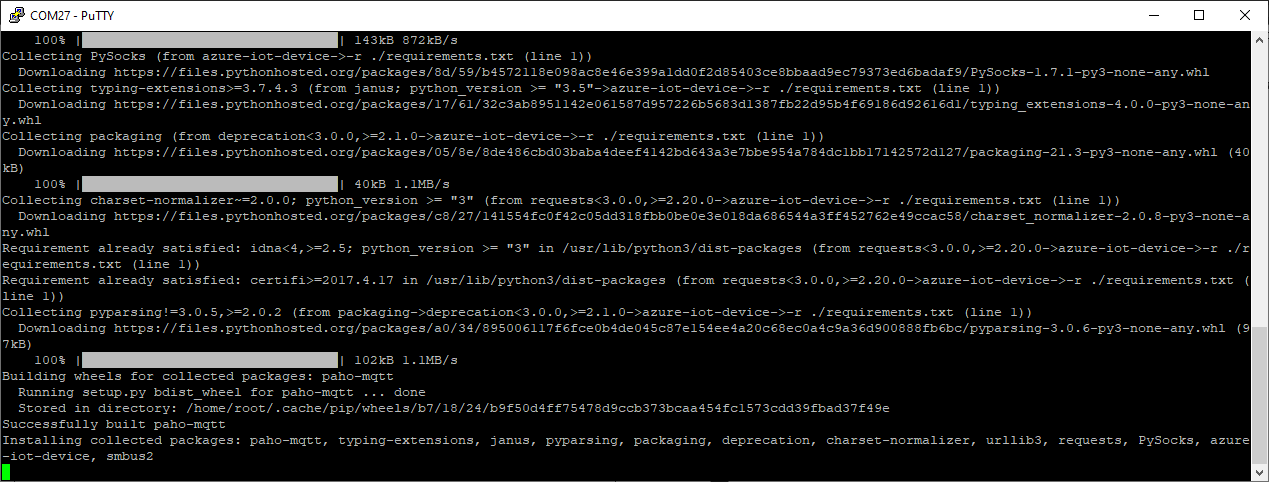
Figure 8: Adding in the required packages. (Source: Author)
With the DE10Nano set up, we now need to configure the Azure IoT services.
Deploying the Azure Services
To get started, the first thing we need to do is use the innovate Azure Resource Manager Template provided at the link.
This will open a new web browser from which to sign into your Azure account. Once signed in, you should see a new custom deployment tab. Enter the required information and click Review + create (Figure 9).
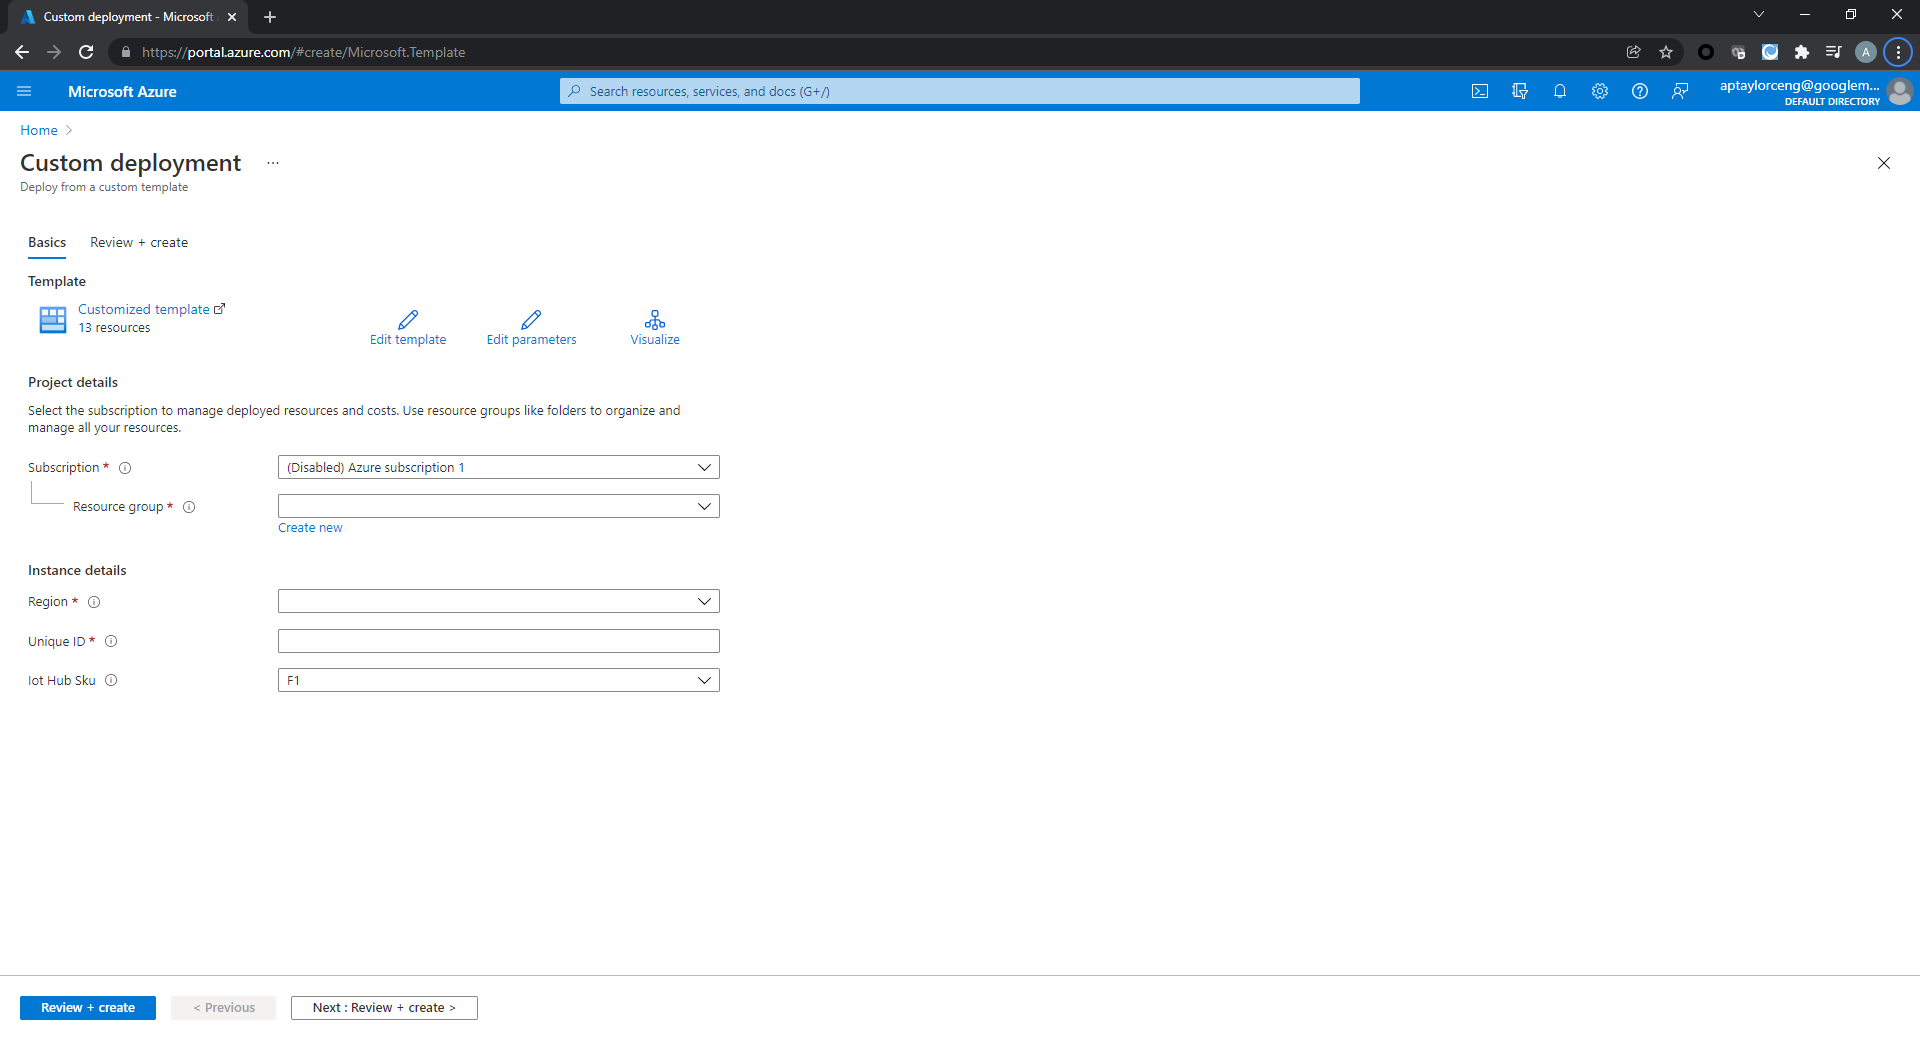
Figure 9: Creating the Azure Deployment. (Source: Author)
This will create new resources once the deployment is complete (Figure 10).
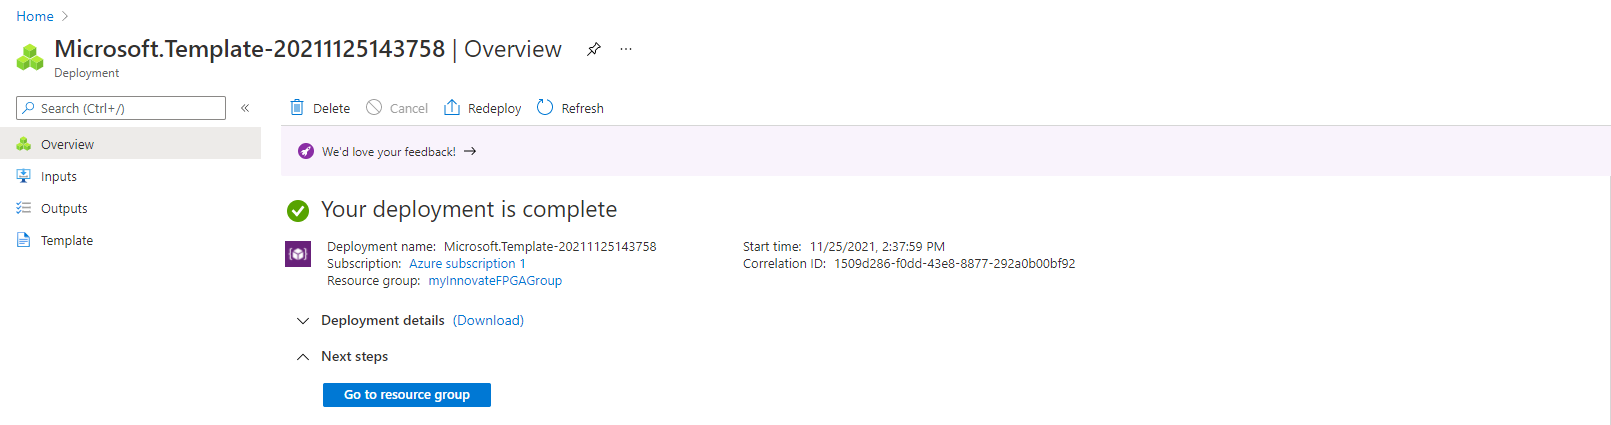
Figure 10: Deployment Confirmed. (Source: Author)
Click on the outputs directory and you will see a website address we can use (Figure 11).

Figure 11: Web Application address (Source: Author)
Open the website in the browser, and you will see the Device Telemetry and the Events, which occur once we get the DE10Nano to communicate (Figure 12).

Figure 12: Telemetry Feed. (Source: Author)
As we develop the application, we can use the APP service to return to the web application if necessary (Figure 13).
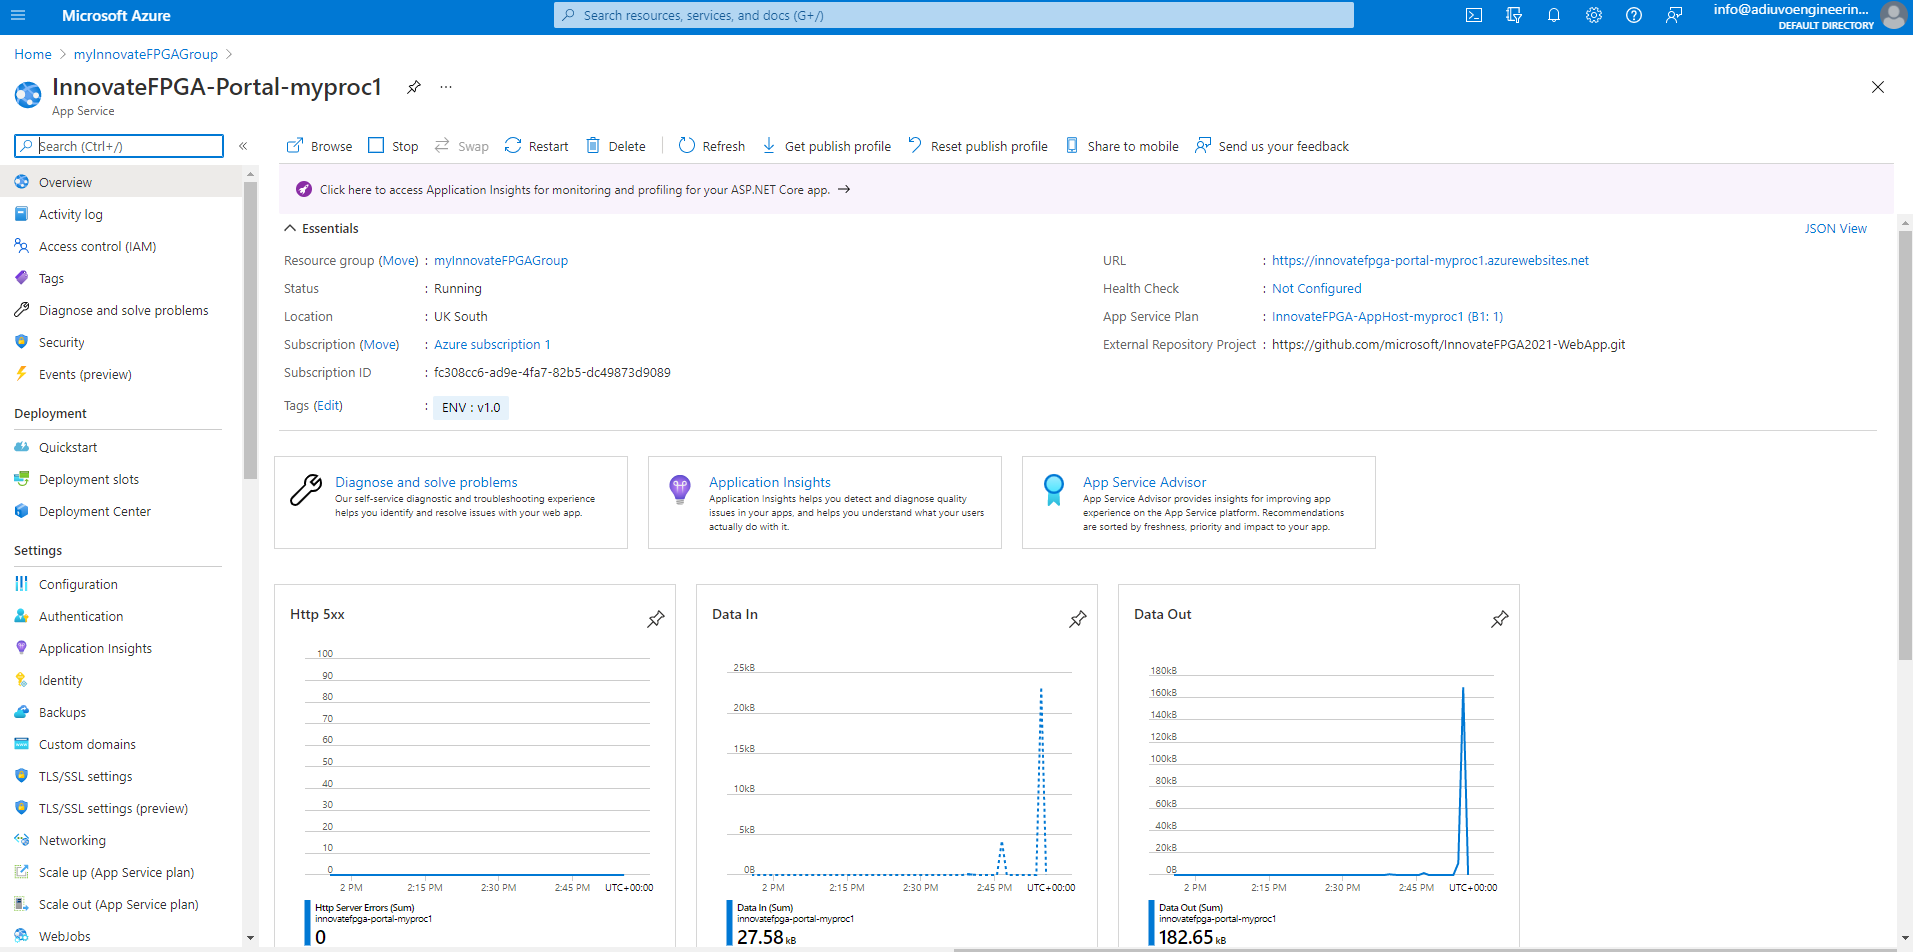
Figure 13: Network activity. (Source: Author)
The final stage is to provision the device, which we do via the web app. This will enable us to complete the setup of the DE10 Nan. Select New Enrollment and enter the name DE10-Nano and select create (Figure 14).
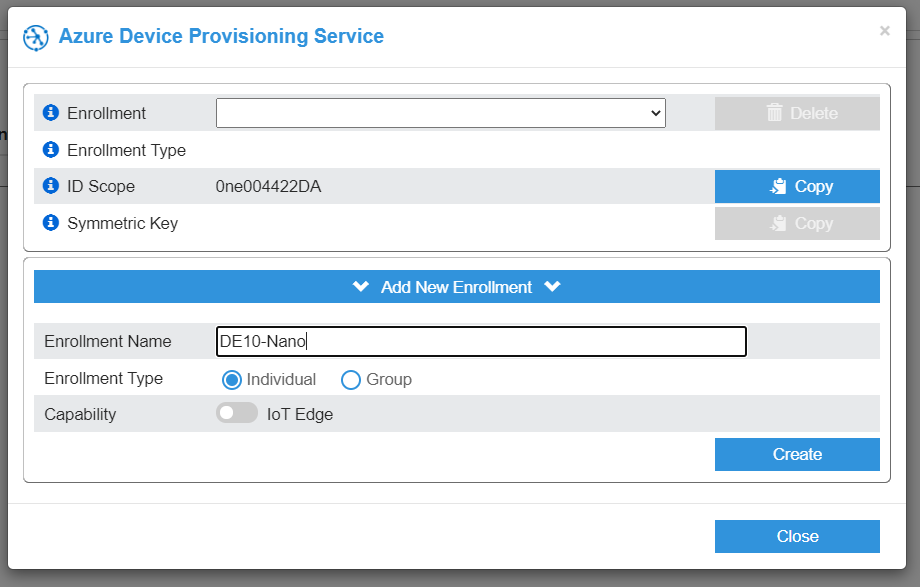
Figure 14: Provisioning the De10 Nano. (Source: Author)
This will provide us an ID scope and Symmetric key. Keep these safe and hidden from others (Figure 15).
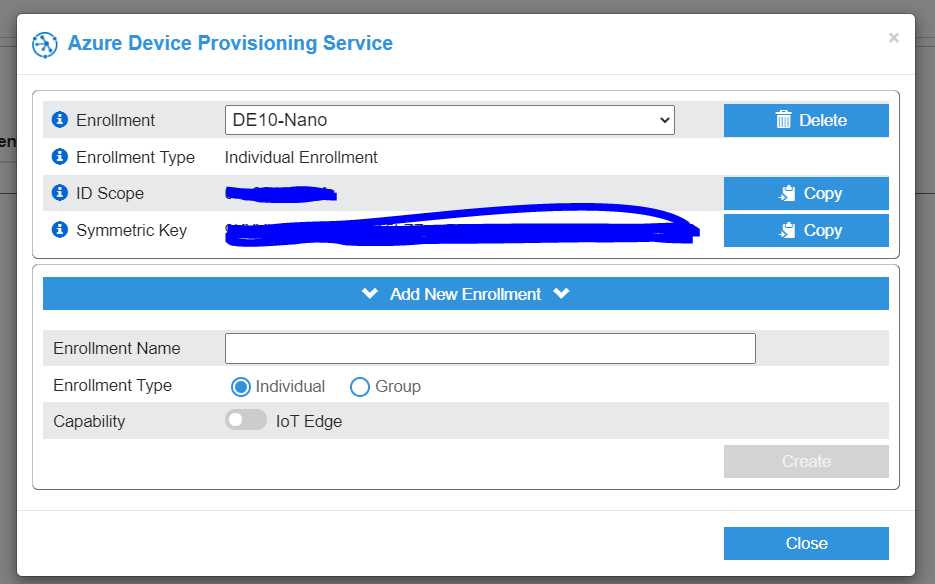
Figure 15: Secret information for provisioning. (Source: Author)
Running the Application
Now we can run our application, which uses the overlay created in the first section. To get started, we need to create a new python file.
nano ./overlay/run_pythonapp.shInto this file we need to add the following. We do not need to make changes to this file, as our modification to the overlay used the Module5_Sample_HW as the base for update. Add in the ID Scope, Device ID, and DPS Device Key from the azure provisioning service.
#!/bin/bash
export IOTHUB_DEVICE_SECURITY_TYPE='DPS'
export IOTHUB_DEVICE_DPS_ID_SCOPE='<from DPS Deployment>'
export IOTHUB_DEVICE_DPS_DEVICE_ID='<from DPS Deployment>'
export IOTHUB_DEVICE_DPS_DEVICE_KEY='<from DPS Deployment>'
overlay_dir="/sys/kernel/config/device-tree/overlays/socfpga"
overlay_dtbo="rfs-overlay.dtbo"
overlay_rbf="Module5_Sample_HW.rbf"
if [ -d $overlay_dir ];then
   rmdir $overlay_dir
fi
cp $overlay_dtbo /lib/firmware/
cp $overlay_rbf /lib/firmware/
mkdir $overlay_dir
echo $overlay_dtbo > $overlay_dir/path
cd /
python3.7 -u ./main.py
The next step is to make the file just created executable (Figure 16).
chmod a+x run_pythonapp.sh
Figure 16: Set the script to executable. (Source: Author)
Run script just created. The application will begin to show the data being transfer up to the cloud over the terminal window (Figure 17).
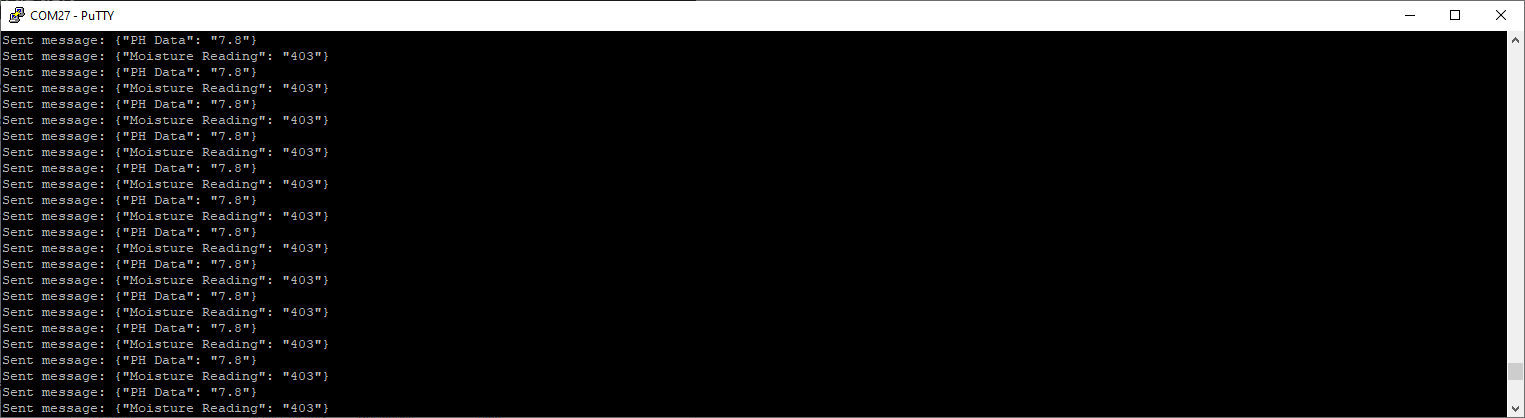
Figure 17: Terminal Data communicating to Azure. (Source: Author)
You will be able to see the telemetry, even under the web application, along with connection and disconnection activity (Figure 18).
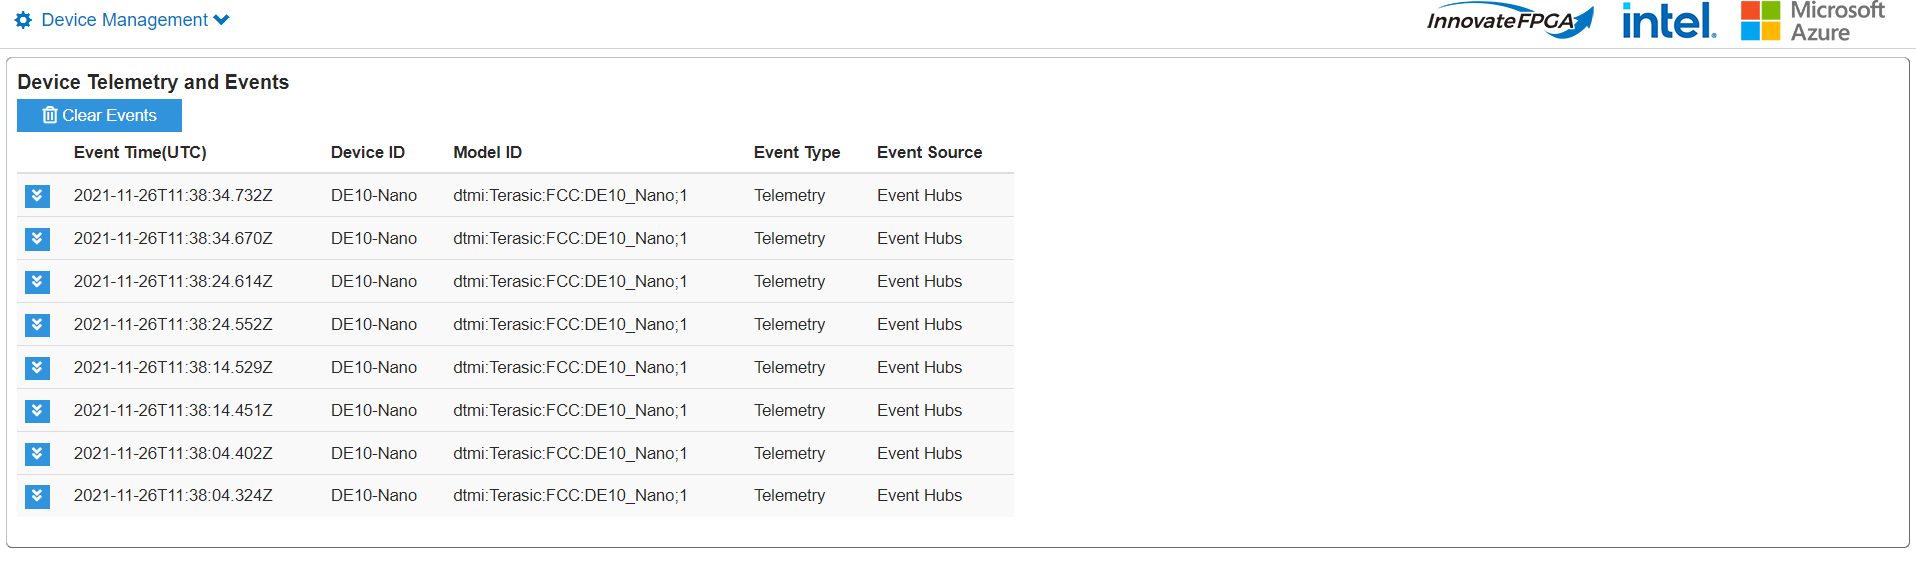
Figure 18: Telemetry Data. (Source: Author)
Expanding the telemetry events will show the moisture reading and the PH Data of the soil (Figure 19).
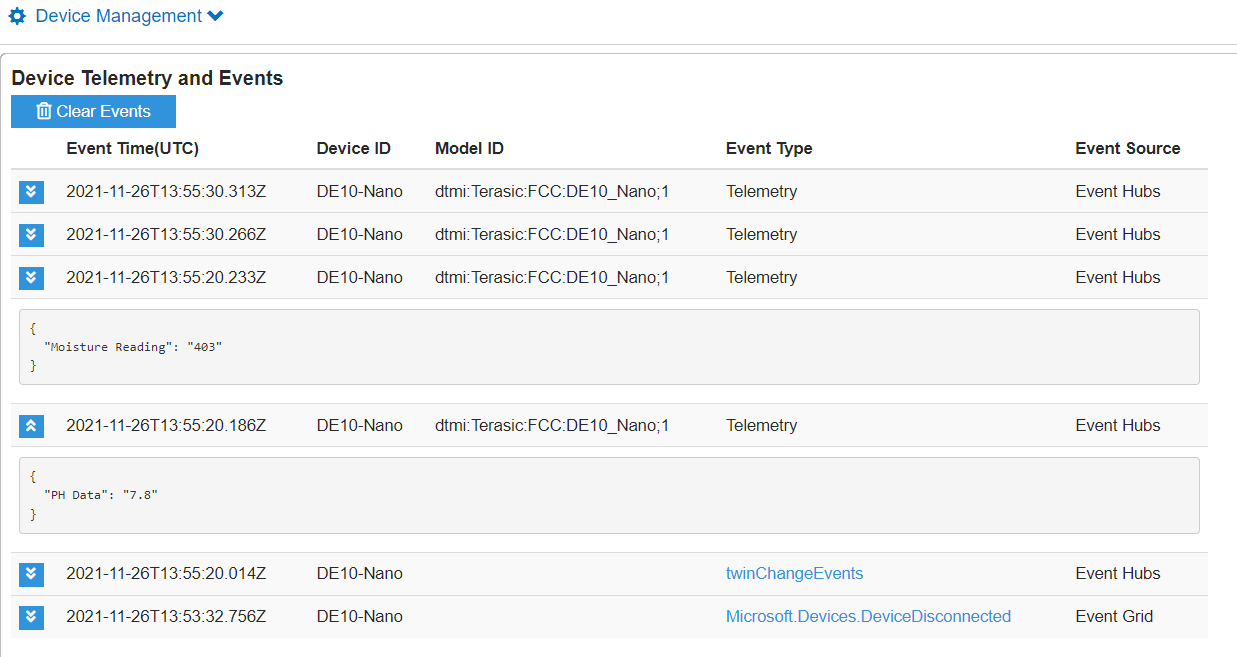
Figure 19: Telemetry Data Expanded. (Source: Author)
Moisture reading will be between 260 and 520, which represents water 260 -360, wet 450 to 430 and dry 430 to 520. The pH reading should be between 3.5 and 8.5 for soil, with perfect pH being around 7.
Wrap Up
This project has shown that we can create a new overlay for the intel cloud connectivity kit and connect it to the Azure cloud. This would enable several remote edge-based soil quality measurement systems to be deploy and remotely monitored using Azures capabilities.
Additional resources for the FPGA Cloud Connectivity Kit including, Technical Resources, Downloads, and Technical support can be found at the InnovateFPGA support site Support - InnovateFPGA. Additionally, a GitHub repository which includes “Getting Started” documentation for Microsoft Azure, can be found at GitHub - terasic/InnovateFPGA2021. Both of these will provide a number of additional support resources to help launch your project.
Click the link for part one of this two-part series Terasic FPGA Cloud Connectivity Kit: Part One (mouser.com)